We explored many other options in and around London for a birthday party, but wow - can they be expensive. Sophia's first choice was to invite all of her friends to do the double-decker bus tea party. The prices just weren't feasible for our family to swing inviting all of the girls she wanted to invite. So, we took the idea of a tea party, and built on that, with the help of Pinterest.
First, the invitations...
We discovered these wonderful invites on etsy, and worked with the designer (who was terrific, and very prompt) on a custom design for Sophia. I won't show Sophia's actual invite here, as it includes our personal information, but you get the gist of it.
https://www.etsy.com/uk/listing/482248785/alice-in-wonderland-birthday-party?ref=shop_home_active_11
Due to family schedules, the party isn't to take place until several weeks after her actual birthday, so it allows me plenty of time to get my "martha" on!
I used this handy printable party planner that I found to gather and organize my ideas for decor, activities, and more!
It can be found here - http://thecraftingchicks.com/party-plan-printable/
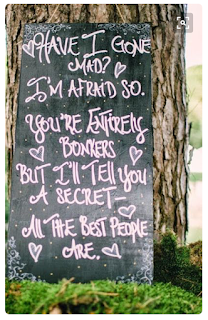
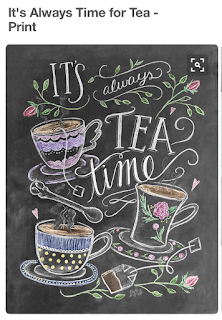
I was inspired to do some chalkboard art as simple decorations. I will place one outside the front door to welcome guests, and the other inside near the food table.
I found these inspirations on pinterest.
I did a little research online to make sure that I wouldn't permanently leave the designs on the chalkboards. Sure enough, they need to be seasoned first. This is done by turning a piece of chalk on it's side and rubbing the entire surface of the chalkboard with a liberal layer of chalk. Then, wipe clean with a dry cloth.
I purchased the chalkboards and chalk markers on Amazon.
Here is the finished product:
More in another installment!


No comments:
Post a Comment